Skybox is the most important part of the scene that completes your game's lighting setup. Back in the day, we simply used a static picture of the real sky, this method is easy but cannot handle the case where lighting scenarios change, such as the sun moves or transition from day time to night time.
This is where a procedural skybox comes into place. It can quickly react to every changes of the light source and other factors such as time of day, etc.
In this tutorial, I will show you how to write your own Unity sky shader using ShaderLab.

The scopes of our Unity sky shader
We will make a handwritten shader that:
Using Unity's ShaderLab syntax.
The shader should work with all render pipelines, including BiRP and URP.
The shader should run well on both PC, mobile and VR.
The shader contains the following effects: sky gradient, sun and cloud.
We will not discuss in detail how each block in ShaderLab works, please refer to Unity's documentation to learn more.
Example Unity sky shader project
You can download the project using this link.
First things first
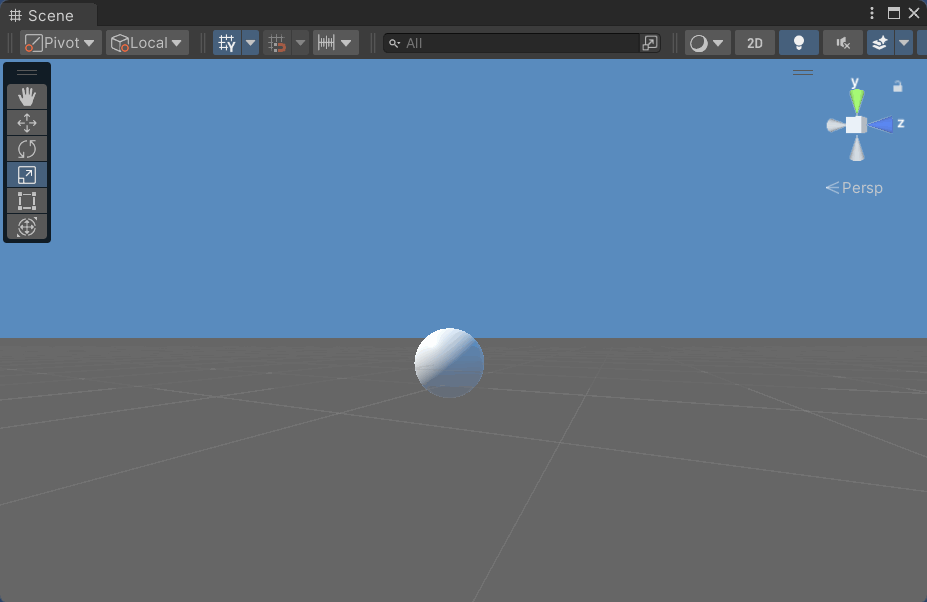
In the Project window, create a new unlit shader (Create>Shader>Unlit Shader) and give it a name, for example "SkyShader". Then, create a new material using that shader.
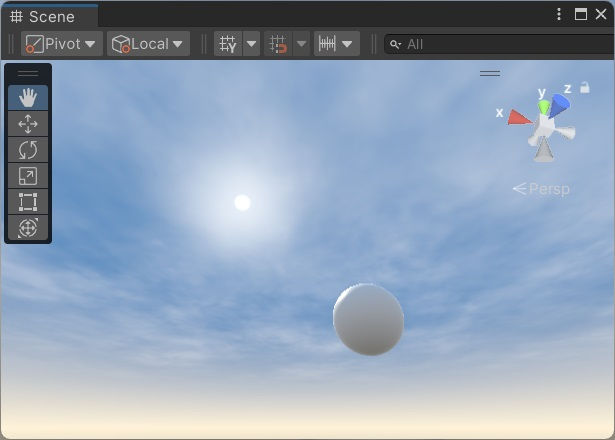
Drop the material into the empty space in the scene view, it should look like this:

Open the shader file and give it a name after the "Shader" block, for example "PinwheelStudio/Tutorial_SkyShader", this name will be used in the shader selector.
To tell Unity it's a skybox shader, under the "SubShader" block, change the "Tags" to:
Tags { "Queue" = "Background" "RenderType" = "Background" "PreviewType" = "Skybox" }
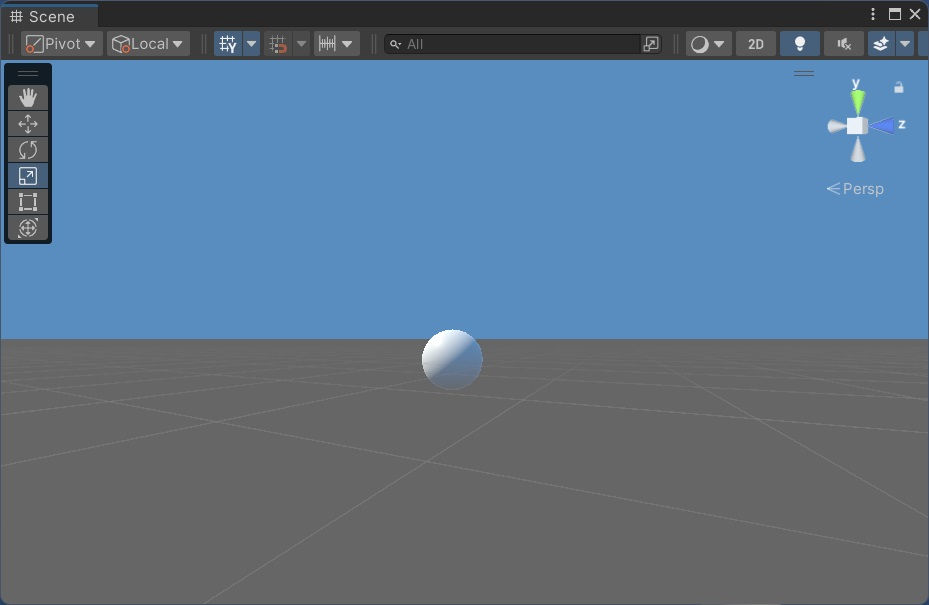
We also remove everything related to GPU instancing and builtin fog, see this snippet:
Barebone sky shader snippet
Then, your scene should be pitch black:

What is that "fixed4" type?
Can we just use "float4"?
How Unity renders the sky?
Unity uses a sphere-like mesh to draw the skybox, where the vertex position can be used to indicate the view direction from the camera's origin to current sky pixel.
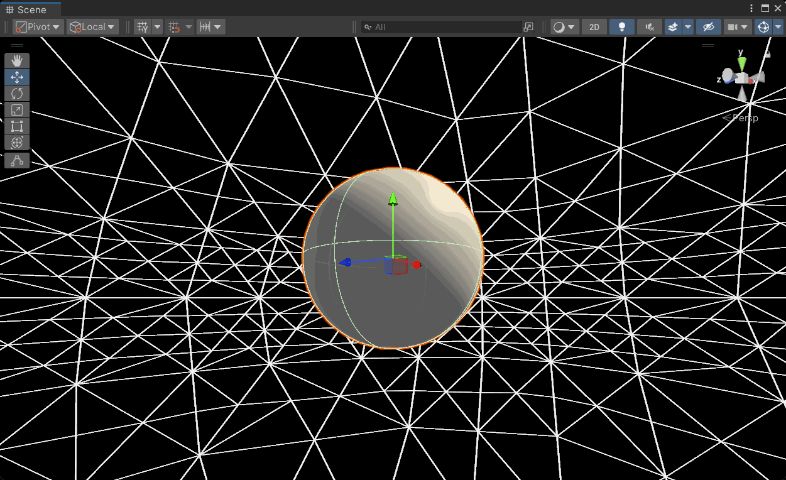
To have access to the view direction (in other word, the vertex local position of our skybox mesh), we declare a new field in the v2f struct and copy its value in the vertex function.
Draw the sky gradient
This effect will act as the background color of our Unity sky shader, where we can change the top, bottom and horizon color to our wish. Let's introduce some material properties with default values:
The solution for this effect is simple. By using the view direction, we can determine if it should take the "_SkyColor" or "_GroundColor" (view vector points to the upper or lower half of the sky sphere), then overlay the "_HorizonColor" on top of it.
How to know if the view vector points to the upper or lower half of the sky sphere?
In the code above, we define a CalculateSkyGradientColor(...) function that takes all related parameters. In this case, using an "if...else" statement to select between sky and ground color is expensive for the GPU (dynamic branching) so we will use a math trick:
skyBlendColor = lerp(groundColor, skyColor, viewDir.y > 0);
In shader, a bool value can be effectively casted to 1.0 or 0.0 corresponding true or false, the viewDir.y>0 expession above can be used as a factor of the lerp function where it will return groundColor if false, skyColor if true.
What is that "out" keyword in the function signature?
Then, call it in our fragment function with some simple overlay blending, we have this 2 colors sky:
Next, we can calculate the horizon color with a few lines of code:
The pow() function is a bit expensive on mobile but anyway, it yields better look.
Very nice, now we have a sky with full control of the upper, lower and horizon color. Play around with the material properties to see how they work.

Let's take a break
Learn shader programming is hard at first because of the way they work in parallel. Don't give up just yet, once you get used to it, there are lot of possibilities and fun things you can do.
Want to jump right in a fully featured sky shader with gradient, sun, moon, stars, cloud, horizon fog, day night cycle and more, without writing a single line of code? Take a look at this one:
Let's move on.
Simulate the sun
Our goal is to draw a glowing sun disc that reacts correctly to the main light direction. Let's introduce some material properties:
To make the sun react to main light direction in the scene, we need a C# script to sync our "_SunDirection" property, attach this script to any game object in the scene, then assign the sky material and main directional light to it:
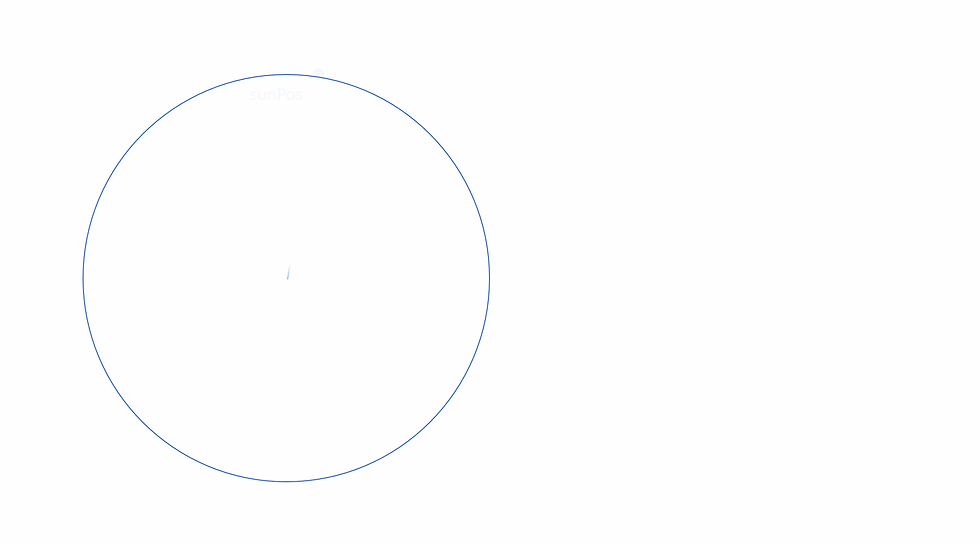
Let's make an assumtion that the sky sphere has its center at (0,0,0) and a radius of 1 (calculation in normalized space will be a bit easier), and the sun is placed on the surface of the sphere.
Imagine that there is a "sun plane" that is perpendicular to the sun direction, we can cast a ray from the sphere's origin along the view direction, then find its intersection point on the sun plane.
With that intersection point, we can decide if it's a "sun pixel" or not using some sort of distance comparison between 2 points.
The intersection point can be calculated as follow:
rayLength= 1/dot(viewDir, sunPos);
intersectionPoint = viewDir*rayLength;
Take a look at the explaination:
Let's make a function for the sun color:
Once you have the distance from the current pixel to the sun, you can easily calculate the sun color with lerp() and inverseLerp(), totally up to your creativity, I would recommend this code:
Now call the function in our fragment:
You can play around with those constants and multiplications to see how they work.
However, when getting back to the scene, you will encounter a "double suns" problem:

To fix this, simply add a positive dot product test at the end of the function:
Your task: find a way to fix the lines where it "potential div by zero"
Adding cloud in Unity sky shader
We will add cloud to our Unity sky shader using layered noise texture, were the sampling UV is panned to create the effect of movement. First we introduce some material properties:
Assign a noise texture to the CloudTex slot of the material, you can use the one provided in the example project:

Now write a cloud function and call it in our fragment:
Similar to the sun effect, we will cast a ray along the view direction to a virtual "cloud plane", the plane is parallel to XZ plane (its normal vector pointing upward), with its origin at (0, cloudAltitude, 0). The formula for calculating the intersection point will be a bit different where cloud altitude will take into account:
float rayLength = cloudAltitude / dot(rayDir, cloudPlaneNormal);
float3 intersectionPoint = rayDir * rayLength;
Then, the intersection point position (XZ) can be used as UV for sampling a seamless noise texture:
We will sample the noise texture in a loop. Loop instruction on GPU is a bit different from what we do on the CPU, where the loop counter (loop times) should be a constant so the GPU can efficiently "unroll" it.
Since the texture sampling can be expensive on mobile, we will only draw 1 cloud layer, but on PC we can draw 2 or more layers to have better visual. To do that, we use a "loop" constant and Unity's builtin keyword SHADER_API_MOBILE to set its value.
In each loop, we "cook" the UV value such as panning with "_Time" value, change its frequency (multiply with 0.5 or 2.0) and accumulate all the sampled noise value.
After the loop, you can process the accumulated noise value the way you want, here we will remap it to our desired range.
Yet again, we have "double clouds" problem, simply check if the view direction is pointing upward:

Taking a step further, the cloud seems to expand to the very end of the horizon, which doesn't look so nice, we can add a fade effect using the distance from the intersection point to the cloud plane origin:
Now it looks better!

Wrap up the Unity sky shader tutorial
In this post we've learned how to write a procedural sky shader in Unity with sky gradient, sun and cloud. There are a few more effects you can add to your shader such as the moon, stars in night sky, fog on the horizon, etc.
You can find these beautiful effects that run well on both PC, mobile and VR in our product Jupiter - Procedural Sky, for Unity here:
See you in the next post.
Comments